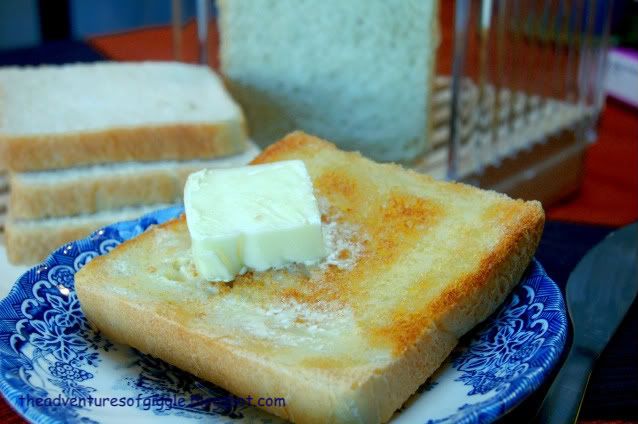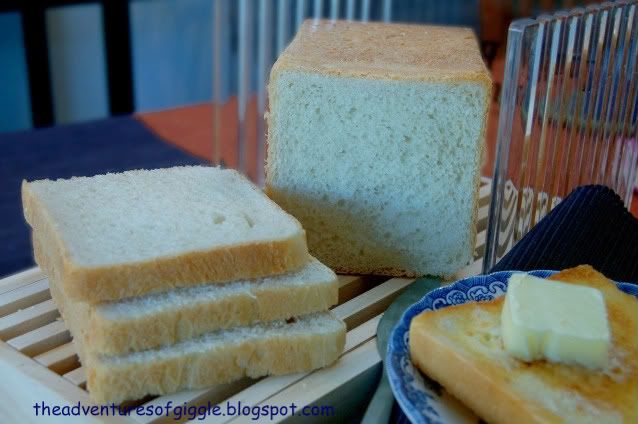
I really love the fresh baking aroma from the oven spreading in my house. Plus a cup of fresh brewed coffee, oh gosh!! Just like being in the heaven! lol!!
I am a bit picky about the shape of my bread. I don't like the shape of the bread pan that came with my bread machine. Tom helped me to get a new square bread pan with lid from Amazon (editor's note: This is called a "Pullman Loaf Pan." You buy a slide-on lid to make the square "sandwich bread" loaves). Its weird, we had to order it online, we couldn't find it from the major supermarket or retailer stores here.

There are so many bread recipes out there. I am still new to bread making, so for safety, I started with a very basic white bread recipe (editor's note: This is technically called "pain de mie"). It turned out great! Cottony soft inside. I am glad that I have everything for a fresh and healthy homemade bread now. I was really concerned about consuming too much bread improver - a common ingredient for those bakery shop to make nicer looking or texture bread/bun. I don't have worry too much about this now. yay!!!
Here's my recipe I would like to share, it is really simple for a new bread baker. Try it out! :-)
(editor's note: Best "white bread" ever! Can't wait for raisin bread!!!)
For a 4" X 4" X 13" Bread Pan
1. 350~360ml fresh warm milk (100~110F) - volume is to be adjusted according to the moisture of the dough.
2. 1tbsp sugar
3. 1 pack (7g or 21/4tsp) active dry yeast
4. 40g butter - melted (I will add up to 60g in my next attempt as I like the taste of butter a lot)
5. 1 .5 tsp salt
6. 510g all purpose flour
For bread machine baker
1. Pour the warm milk in the pan, dissolve sugar and yeast in warm milk. Let is rest for 5 minutes.
2. Add in flour and salt, select dough function and press start.
3. Add in butter after 4 minutes of mixing.
4. I shorten the mixing and kneading process, I just let the machine run for 25 minutes.
5. After 25 minutes, turn off the power. You may rise the dough in the machine or remove it to a lightly greased bowl, cover with plastic film and rise for 1 hour in warm (85F) place or doubled in size.
6. Punch the dough down with your fist, divide to 3 or 4 portions. Let them rise for 10 minutes.
7. With a rolling pin, flatten the dough to approx. 4" wide, 12" long, roll it from short side like a swiss roll, place it in the bread pan. Repeat the same to the rest of doughs.
8. Cover with plastic film, let it rise for another 45~60 minutes, or until it is 90% up the way to the top of the pan.
8. Bake with lid on at preheated oven (350F) for 35~38 minutes.
9. Once its done baking, remove the bread from the pan immediately and cool it on a wire rack.
For hand kneading baker
1. Dissolve sugar and yeast in warm milk in a large mixing bowl, let it rest for 10 minutes.
2. Add butter and flour into yeast mixture, stir until well it form a dough. Turn dough out to a floured surface.
3. Knead until smooth and elastic (about 10~15 minutes)
4. The rest of the steps will be same as machine baker #5~#9.
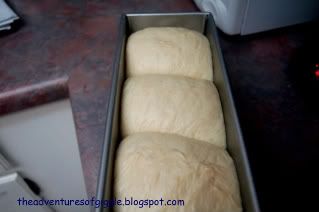
Ready to bake!

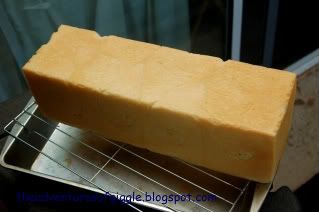
Fresh from the oven!


looks good to me... i know we're supposed to prefer hearty artisan breads, but this is comfort food
ReplyDeleteThanks Justin! I agreed with you! :-)
ReplyDeleteHey Wendy, I have passed you an award. Hope you could come and check it out at my blog =)
ReplyDeleteYour bread looks super good there.. Might want to make some since I'm on holiday now.. But I've never made bread before.. Where shall I start from?
Thank you Traci!
ReplyDeleteI think you may start with the sweet bun making first. The one I posted - water roux starter dough, it sounded complicated , but actually is not. If you follow the steps carefully, you will get the wonderful turn out. Wish you luck!
This is a superb bread! It holds its rectangular shape so well, & inside looks so soft! I'm so new with bread making & I'll definitely give this a try! Maybe I'll make for my dad in my next trip back to my hometown :D. He likes bread. Thanks for sharing this recipe!
ReplyDeletehey nyonya, you can get the shape done as long as you bake your bread in a lid on bread pan. Wish you luck in your bread adventure! :-)
ReplyDeleteWendy, so many things happened lately and I really waiting to chat with you on MSN...but, I'm fine here don't worry! hehe
ReplyDeletei thought you were busy cooking for ah boon, i will online tonight, lets talk!
ReplyDelete